
Anyone wanting to start their own home business needs to put a lot of thought into branding. You want people to recognize you and your work. When you do any type of crafting business whether it is sewing or knitting or crocheting you want something that will identify you and that piece. So, labels become a necessity.
There are a ton of tutorials out there with different kinds of labels you can make and usually they are complicated or extremely time consuming. Me, I prefer something cheap and easy that I can get done in a timely manner.
Here's how I got these done...
I bought printable sheets of fabric from Joann Fabrics. The ones I got actually have a fusible side so you could iron them on if you wanted to do so. However, for knit products you probably want to avoid doing that.
Once I got home, I hopped onto Microsoft word. Here's where it got a little tricky. I simply typed out my name in a font. The one I used is the same one that is actually in my logo, but you can use whatever font you would like. Then I made four columns and copy and pasted my logo in enough times to fill the page. Make sure you double space these, as to have enough room to cut around your labels.
I then printed a test sheet, this is important as you don't want to waste your fabric sheets. After you know its how you want them to look, go ahead and print them out.
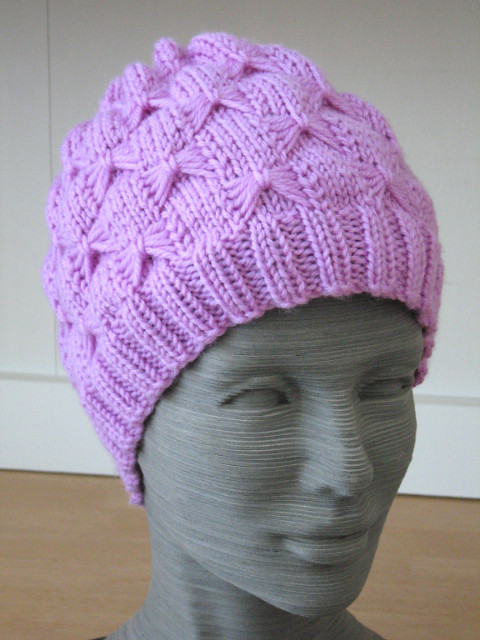
I personally like how the edges kind of fray a little. If you look closely at mine, you can see what I am talking about. If you don't like that, I would simply make the space around each logo larger and then stitch or even carefully burn the edges to seam them closed. I however skipped this step and simply took matching yarn and stitched the label right onto the hat.
This overall cost me less than $4!! Which is fantastic for anyone on a budget!
The final thing I would like to add though is I haven't tried to wash these. So beware before attaching them to something that will get frequently laundered.