Showing posts with label diy. Show all posts

Tuesday, January 31, 2012

Kindle Cover Pattern

I love my kindle. I am actually a little obsessed with my kindle. I literally carry it everywhere with me in my purse. I do appreciate the love for actually holding a book in your hands and all that, but can't beat convenience. However, the  accessories can get a little expensive. So I thought I may as well put my talents to good use. And out of that came this... 


Unfortunately, I lost my phone this past weekend. Along with it were the instructions for that pattern for this case. So I am going to have to try and remember as best as I can what I did.

Kindle Case Pattern

Hook: Sz M

Yarn: I used a bulky weight and a worsted weight held together both were bought at a yarn shop and didn't have labels on them, so this is really more of an estimate

Large button or whatever you wish to use to close to case

This pattern in worked off one chain then connected into a round

Ch 9

Round 1: DC into third ch from hook, on DC in each ch till end of the row, add two more DC into the last chain (3 total in that ch) Now DC in each ch back down the ch making your stitches on the opposite side you worked on your way down. When you get to the last stitch on this row SS to connect to the first stitch. (You should have 16 stitches, 7 along both sides and one extra on one end and your two chains counts as the final stitch)

Round 2-9: Ch 2, one DC into each st all the way around. SS to join. (this was one of the numbers I really couldn't remember. You will want to adjust the number of rows depending on which kindle you have.

When you get to the tenth row you won't be working in a round but you will be making a flap to close the case.

Row 10: Ch 2. Skip one Dc in next stitch, DC in each of the next 4 sts, SS in next st. (6 sts remaining)

Row 11: Ch 2 Skip one Dc in next stitch, DC in next two sts, SS in next st (4 sts remaining)

Row Twelve. ch 2, 2 DC in each of the 4 remaining sts. Tie off.

Attach button to the base of the case. There should be plenty of room to slide a button through and you won't need to do a buttonhole.


And now you have your own customized kindle case. These make excellent gifts, and the best part is they take under an hour to make if you work quickly! I made a few of these for gifts this past holiday season and they were a hit!


Enjoy!

Monday, July 25, 2011

Anthro Inspired Double Plait Bobbies


Here is something else that I knew I wanted from Anthropologie that I was going to refuse to pay $18 for- Double Plait Bobbies. I love the idea of cute little bobby pins that have a little bit of sass of glam to dress them up. So after seeing these I knew I needed to try some myself.

Want some of your own? Here's how:


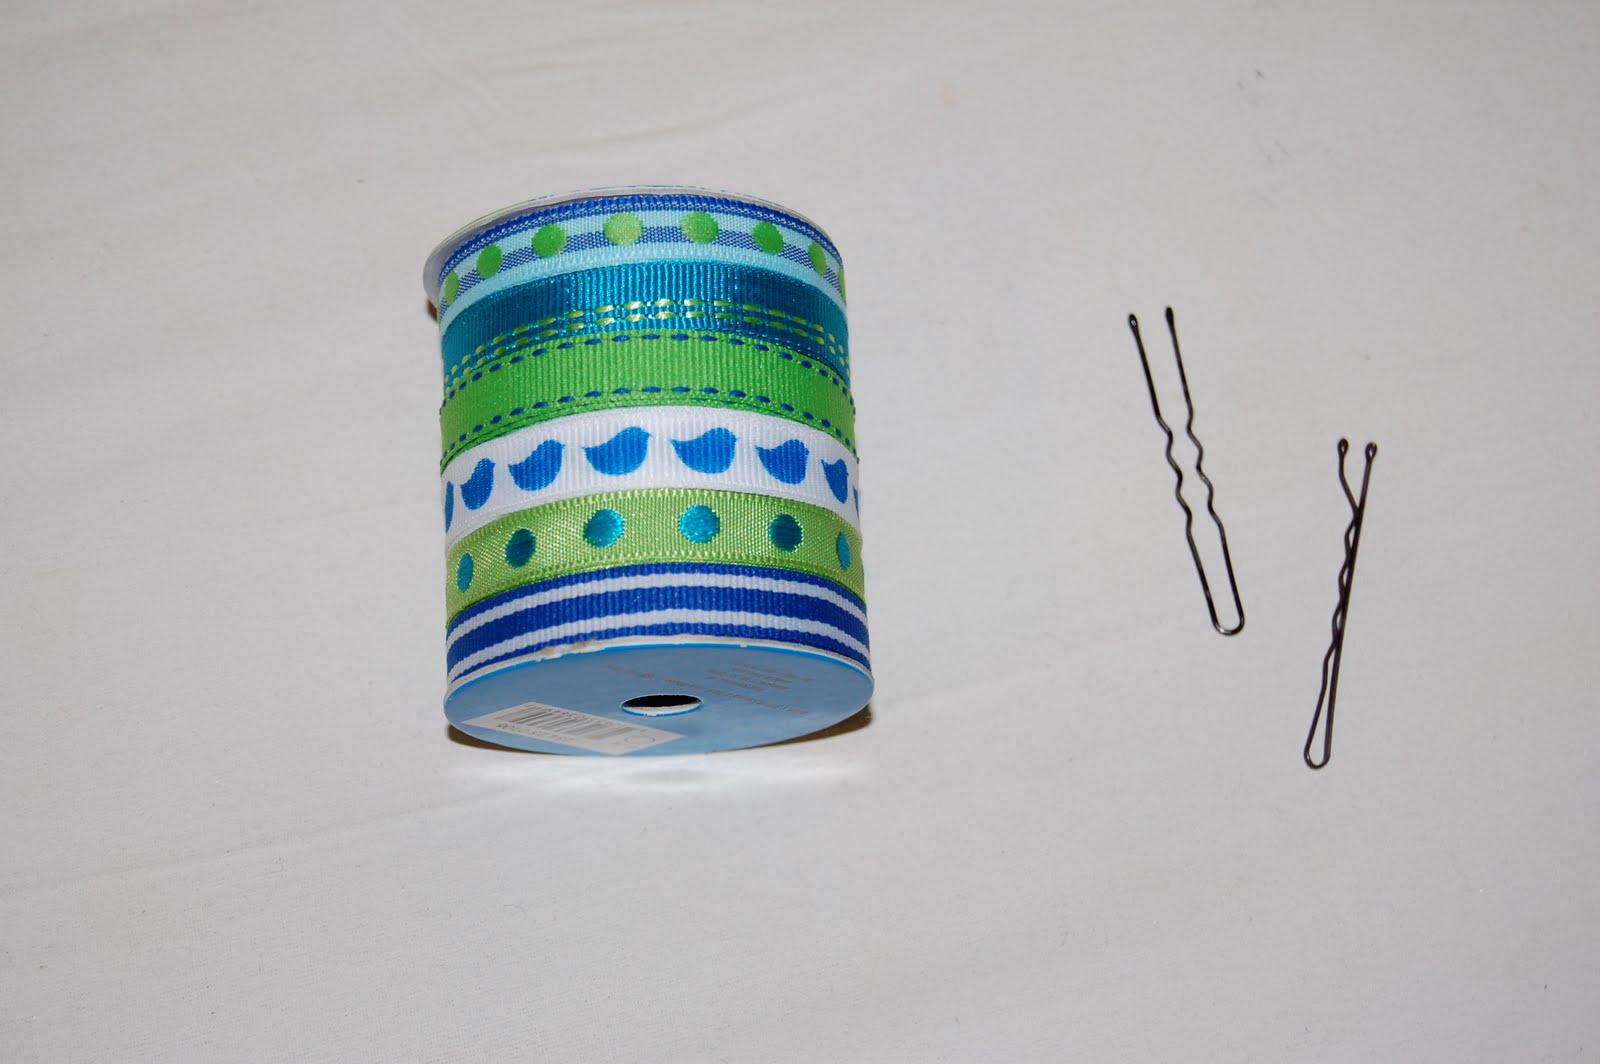
What you need: hot glue gun, skinny ribbon, bobby pin, hair pin (as pictures above you can see the hair pin in wider than a bobby pin and doesn't pop out at the end as a bobby pin does) I haven't tried this with using two bobby pins so I don't know what the end result would look like.

After you get your supplies together you take the hair pin and your ribbon and slide it through as I did above.


Fold the outside edge into the middle and use a dot of glue to put it in place.

Flip the pin over so you cannot see where you glued it in the back. If there is ribbon sticking off the edge just trim it down with some scissors.


Here you need to take the ribbon and pull it up towards you and over top of the right bar of the pin and slide it back through the middle. Kind of like you are braiding it in with the hair pin. Then continue by pulling the ribbon over top of the left bar and slide it back through the middle so it pops out on the bottom side of the right bar.


Continue to "braid" the ribbon through the hair pin until you reach the bottom. There you take another dab of glue to hold the ribbon in place and wrap the ribbon around the whole pin at the bottom and glue into place again.


Here is another one I made in blue with slightly thinner ribbon. Try different colors and patterns and see what creative things you can think of!


Friday, April 16, 2010

Craft Room Necessities

I currently do not have a craft room at my house. I do however have what I call my crafting corner. I have decided to start getting together ideas of items that will be included in my craft room. I have read multiple articles about what people want and need in their rooms but everyone has their own preferences. While browsing the internet, I ran across this article about building a lightbox. This combines my love for cheap diy projects and anything that will benefit my photography skills, in turn, benefitting the blog.

So check out this article and hopefully soon I will have pictures of one that I built!